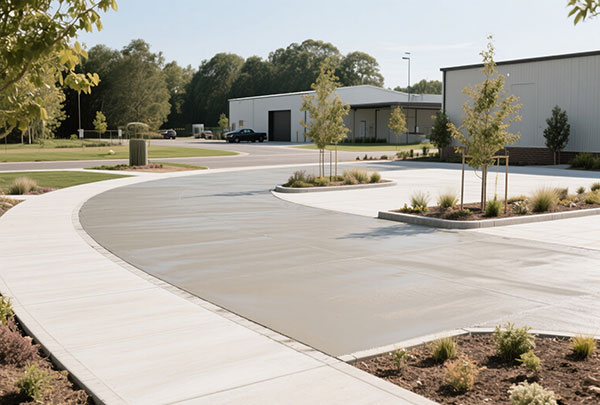
Introduction: Why Regular Paver Inspections Matter
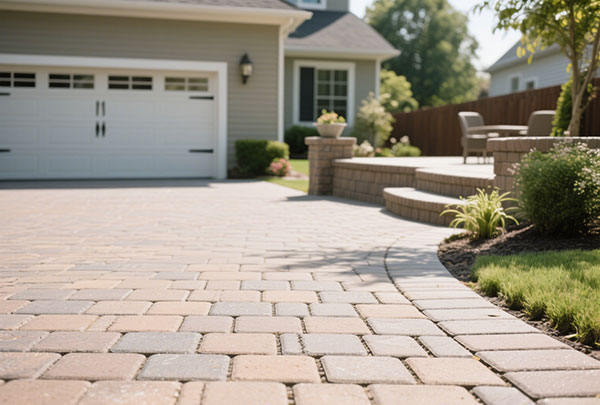
Interlocking pavers are known for their durability and flexibility, but like any outdoor surface, they can be affected by weather, soil conditions, and heavy use. Over time, these factors may cause shifting or sinking in certain areas.
If ignored, small problems can become major issues. That’s why many homeowners ask: How often should I check for shifting or sinking?
How Often Should I Check for Shifting or Sinking? The Short Answer
The recommended practice is to inspect your pavers at least once a year, preferably in spring or early summer.
Annual Inspection Is the Industry Standard
Checking once a year allows you to catch early signs of shifting before they spread.
Special Attention After Heavy Rains
After significant rainfall, pooling water can erode the base, making inspections crucial.
Winter and Freeze-Thaw Seasons
In colder climates, inspect after winter since freeze-thaw cycles can disturb the base and cause movement.
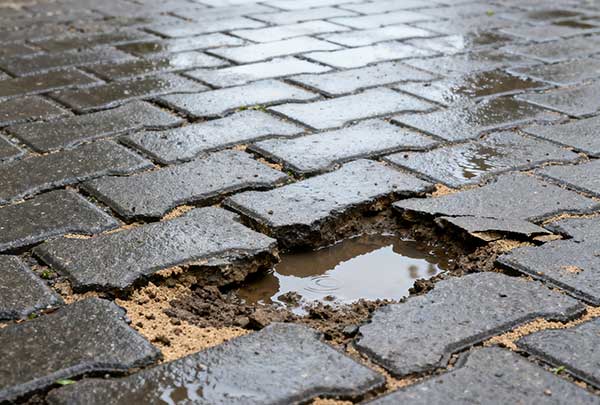
Signs Your Pavers May Be Shifting or Sinking
- Uneven Surfaces or Low Spots – A clear indicator of base settlement.
- Pooling Water After Rain – Signals drainage issues under the surface.
- Loose Joints or Widening Gaps – Caused by erosion of joint sand.
- Raised or Tilted Pavers – Often due to tree roots or frost heave.
Why Annual Paver Inspections Are Important
Prevents Small Issues From Becoming Major Repairs
Fixing one sunken paver is quick; repairing an entire patio can be expensive.
Protects the Longevity of Your Outdoor Investment
A well-maintained paver system can last 30–50 years.
Enhances Safety and Aesthetics
Uneven surfaces not only look bad but also create trip hazards.
Factors That May Require More Frequent Inspections
- Driveways With Heavy Vehicle Traffic – Extra weight accelerates base settlement.
- Areas With Poor Drainage or Slope – Require closer monitoring after storms.
- Properties in Cold or Rainy Climates – More frequent freeze-thaw damage possible.
How to Conduct a Proper Paver Inspection
Step 1: Walk and Visually Inspect the Surface
Look for unevenness, gaps, or tilting.
Step 2: Check for Water Drainage Issues
Watch where water flows during rainfall.
Step 3: Inspect Edges and Borders
Loose edges can lead to spreading and instability.
Step 4: Look for Weed Growth or Sand Loss
These are signs of joint erosion that could compromise stability.
What to Do If You Notice Shifting or Sinking
DIY Fixes for Small Problem Areas
Remove, recompact, and reinstall the affected pavers with fresh bedding sand.
When to Call a Professional
If sinking is widespread, drainage issues exist, or base material needs full replacement.
Frequently Asked Questions (FAQs)
Q1. How long do pavers last with regular inspections?
Up to 50 years with proper care.
Q2. Should I seal my pavers to prevent sinking?
Sealing protects against stains but doesn’t prevent movement.
Q3. Can weeds cause pavers to shift?
Yes, if joint sand erodes, weeds can weaken the structure.
Q4. Do pavers in driveways need more frequent checks?
Yes, because they carry heavier loads.
Q5. How much does it cost to repair sunken pavers?
Small DIY fixes are inexpensive, but professional repairs can range from $10–$20 per square foot.
Q6. Is it better to repair or replace sunken pavers?
Repair is usually sufficient since pavers can be lifted and reset individually.
Conclusion: Regular Inspections Ensure Long-Term Stability
So, how often should you check for shifting or sinking? At least once a year, with extra inspections after heavy rains or winter seasons.
👉 Regular maintenance ensures your pavers remain safe, beautiful, and long-lasting, preventing small issues from turning into costly repairs.